Open Hardware for the Classic iFlag:
The original iFlag system was designed on the basis that any user could DIY a flag display device and build it to get a inexpensive Flag Display system for their use. This flag diplay device consists of three parts of Hardware all which can be sourced independantly, put together, and have a working display unit based on the Classic iFlag Firmware.
The Parts:
The Processor - The iFlag Classic is based on the use of the Original Arduino UNO based on the Atmega 328P Processor with the FTDI Serial/UART Interface Chip. Since the original there have been many versions of the UNO based on the same basic architecture. Some of these units that came from chinese manufacturers come with a cheaper CH341 Serial/UART Interface Chip. These particular units are still fully compatible but do sometimes require a special driver to be able to communicate properly. This driver can be found here *. Additionally other units feature a Programmed secondary ATmega8U2 for Serial/UART connection, this unit does not appear to need a special driver.
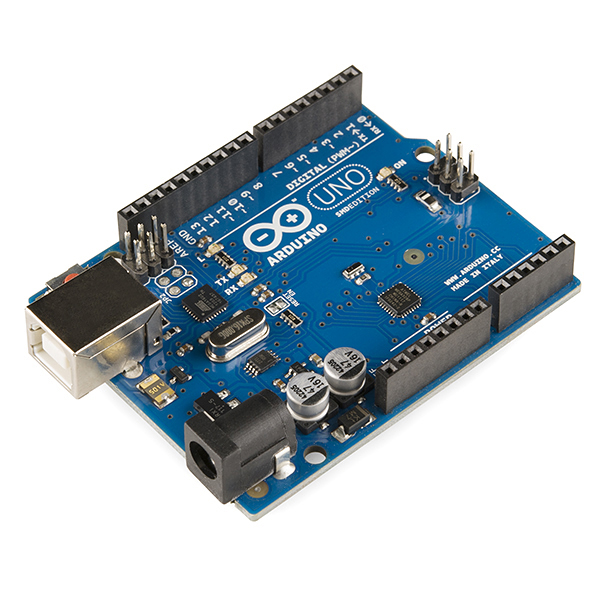
Wikipedia*
The Display Driver Board - The Display Driver board or RGB Matrix Shield & 8x8 RGBLED Matrix. The unfortunate thing is that this driver board has become pretty hard to find it was originally made by ITEAD as a colorduino compatible sheild for the arduino UNO. Currently the only known provider of this sheild is the Chinese company SunFounder. The sheild and the RGB matrix are sold as a package from SunFounder so it is a one stop sort of purchase.
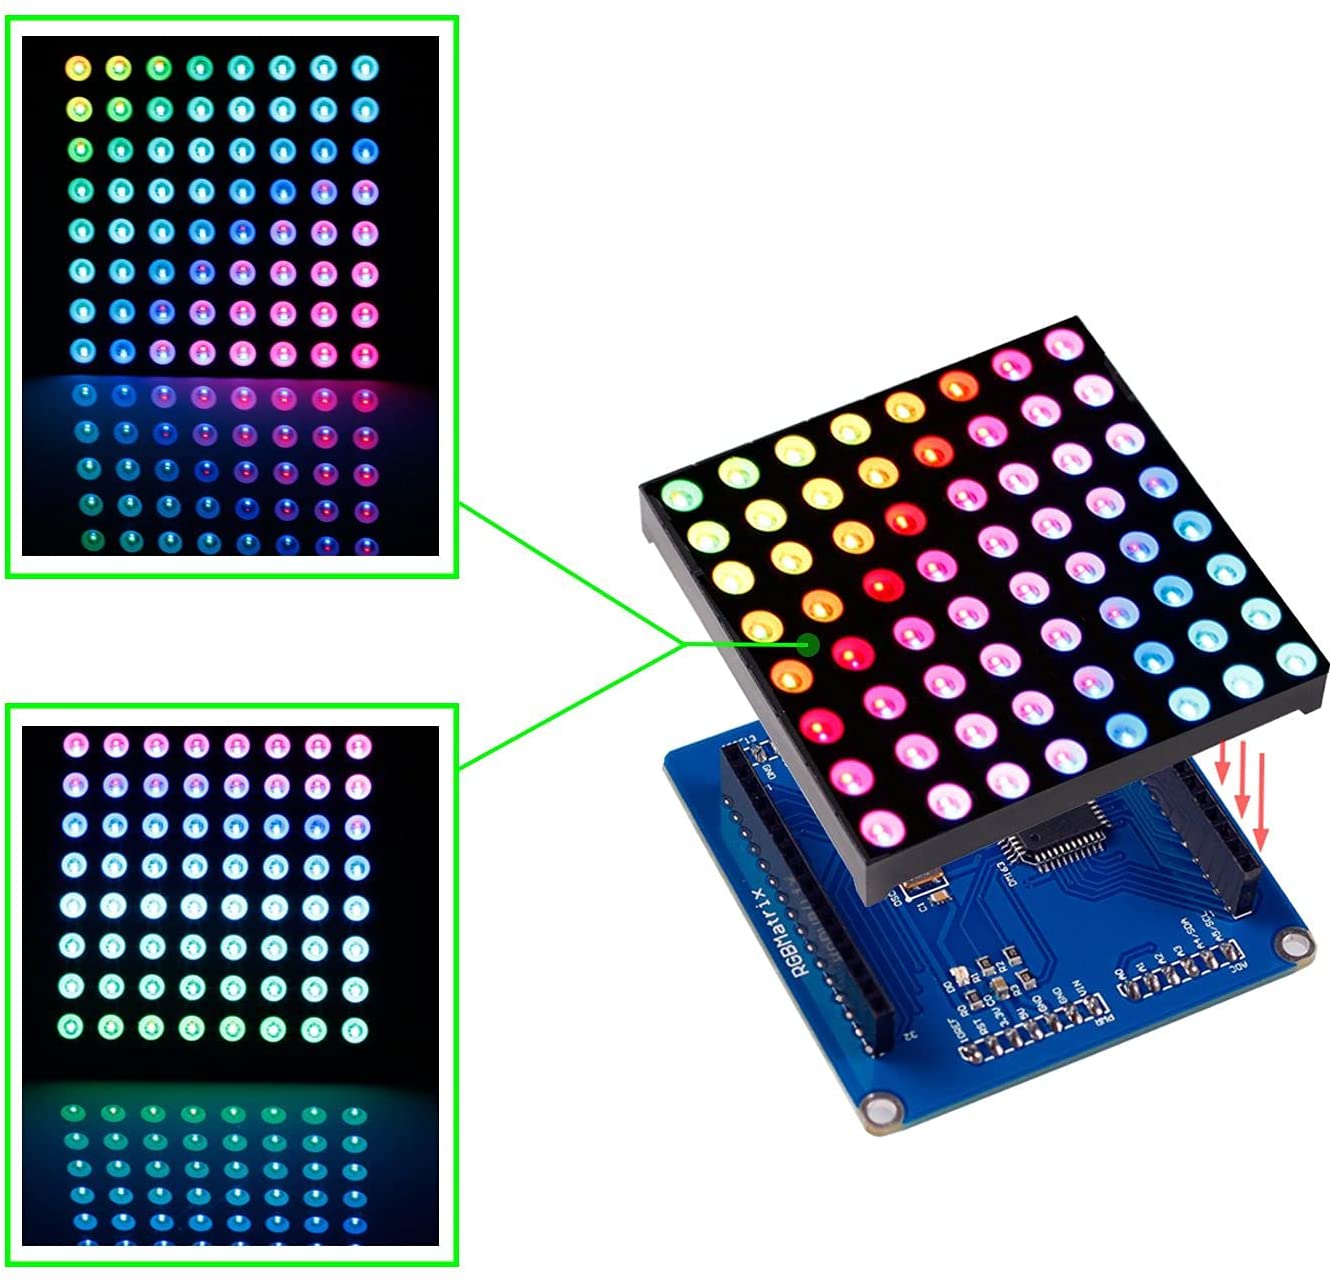
SunFounder*
Secondary Option for a iFlag compatible DIY Device - Currently you can generally find the Colorduino Matrix processor board v1.3+. These boards incorporate the UNO's Atmega 328 Processor along with the circuitry for the RGB Matrix Shield described above. The issue with this board is that it "DOES NOT" contain the USB Serial driver from FTDI or the CH341, this is needed to obtain a constant connection for iFlag communication between the software and device. The good thing is that you can obtain the FTDI/ USB Serial board separate and connect it via the corresponding DTR, GND, TXD, RXD, VDD, & CTS -> GND from the FTDI breakout board to the input communication header on the Colorduino Board. This board needs to be 5v compatible to work properly, additionally, you will need to source the 8x8 LED matrix compatible with the Colorduino or shield. It is possible to buy the Colorduino v1.3+ board in a package with the LED Matrix display.
Cost of a DIY Unit - Costs of course vary greatly but you can expect that the Hardware without any sort of housing/casing** will cost about half of purchasing a prebuilt unit from a reputable manufacturer.
Power issues with the Classic iFlag Hardware - The Classic Hardware is very much a power hungry device, it can easily MAX out the amperage draw of a standard USB port. Due to this it is reccomended to either connect the device alone on a USB port or through a powered USB hub with a port amperage of at least the normal USB's 500mA. It may even be beneficial to connect this device to a powered hub that includes a Data Charge Port that can handle a draw of 1A+. The BEST option for power is to use the UNO's onboard DC Barrel connector to supply direct 5V at at least 1A. Symptoms of low power usually manifest themselves as a discoloration of the displayed output either across the entire device or on varying rows. Worst case the device will cease to accept or send information, in this case Windows will either not recognise the device at all OR will complain that the device is manfunctioning.
Penguinr/c iFlag Device Note:
The Penguin r/c iFlag Pro Display and other "Made with iFlag" devices do not rely on any of the Classic iFlag Hardware. The hardware used in these devices is significantly different, more advanced, and does not have the same power issues that are mentioned above.
Notes:
(*) Photo Credits
(**) 3D printable cases can be found on Thingverse.